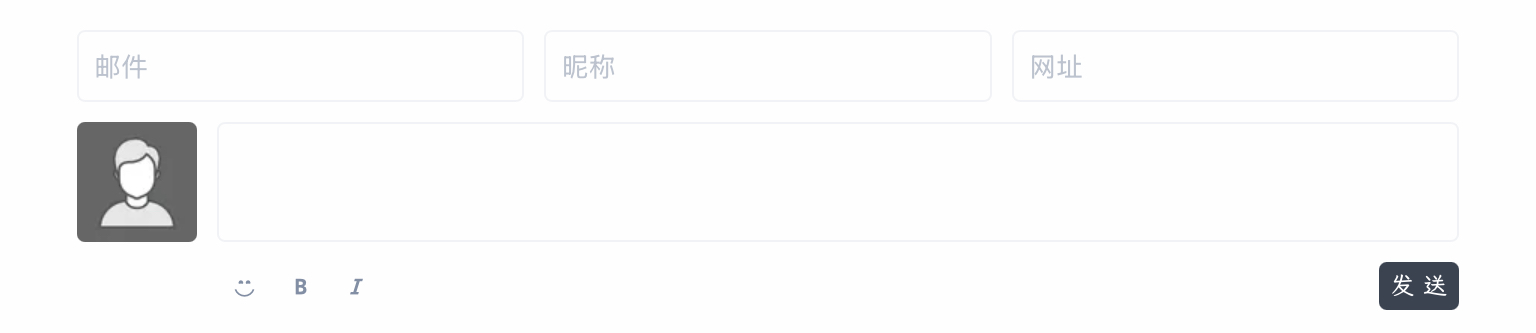
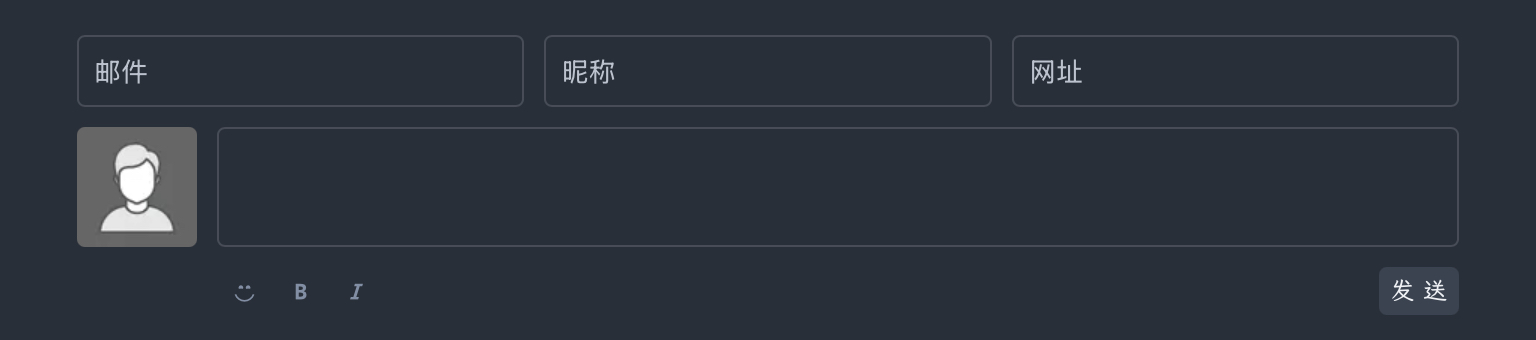
一直觉得 WordPress 默认头像“神秘人士”就挺好,但最近发现在主题暗黑模式下就不太协调了,于是萌生了给主题适配个自定义默认评论头像的功能。主题本身还存在修改 WordPress 默认评论头像后不起作用的问题,这里也一并解决了。适配完毕后网上找了不少默认头像图片,也让 AI 帮着生成了几个都不算满意。就临时挑了一个先用着,发现更合适的以后再换。
现将实现方法记录如下:
1. 在主题设置 core-settings.php 中添加上传默认头像的选项:
[ 'id' => 'biji_setting_default_avatar', 'setting' => ['default'=>''], 'control' => [ 'label'=>'自定义默认头像', ], 'customize' => 'WP_Customize_Image_Control' ],
2. 修改 core.php 文件,添加自定义默认头像的支持:
function biji_replace_avatar( $avatar ) { // 处理自定义默认头像 $custom_avatar = get_theme_mod( 'biji_setting_default_avatar' ); if ( $custom_avatar ) { $avatar = preg_replace( "/d=([^&]+)/", "d=" . urlencode($custom_avatar), $avatar ); } // 处理Gravatar镜像 if ( get_theme_mod( 'biji_setting_avatar' ) ) { $cdn = parse_url( get_theme_mod( 'biji_setting_avatar' ) ); $host = $cdn["host"]; $avatar = preg_replace( "/\/\/(.*?).gravatar.com/", "//$host", $avatar ); } return $avatar; }
3. 在 functions.php 中修改前端 JavaScript 代码,使其支持自定义默认头像:
wp_localize_script('helper', 'BaseData', [ 'origin' => site_url(), 'avatar' => '//' . $avatar_url['host'], 'ajax' => admin_url('admin-ajax.php'), 'rest' => rest_url(), 'nonce' => wp_create_nonce('wp_rest'), 'pjax' => get_theme_mod('biji_setting_pjax', true), 'lang' => get_locale(), 'default_avatar' => get_theme_mod('biji_setting_default_avatar', ''), ]);
4. 修改 helper.js 中的默认头像处理代码:
visitor(email, cb) { email = (email || '').trim(); if ( !email || !/^\w+([-+.]\w+)*@\w+([-.]\w+)*\.\w+([-.]\w+)*$/.test(email) ) { const defaultAvatar = $base.default_avatar || 'mm'; cb && cb({ avatar: `${$base.avatar}/avatar/default?d=${defaultAvatar}&f=y&r=g` }) return; } this.ajax({ query: { action: 'get_visitor_info', email } }).then(({ data }) => cb && cb(data)); },
完成后,在主题设置中上传自定义默认头像。如果设置了自定义默认头像,将使用上传的图片。如果没有设置自定义默认头像,将使用系统默认的头像。
另外因为自己时不时的折腾一下博客主题,因此就在 wp-config.php 文件中添加了如下代码来开启调试日志。这样可以方便查看错误警告信息,排查折腾过程中出现的各种问题。
define( 'WP_DEBUG', true ); define( 'WP_DEBUG_LOG', true ); define( 'WP_DEBUG_DISPLAY', false );
然而由于 WordPress 和插件都开启了自动更新。debug.log 文件总是会自动记录如下提示信息,看着有点烦。
[10-Feb-2025 07:55:17 UTC] Automatic updates starting... [10-Feb-2025 07:55:18 UTC] Automatic updates complete.
如果希望在保持自动更新功能的同时又不希望在 debug.log 中看到这些更新日志。可以在 functions.php 中添加如下代码:
// 过滤调试日志输出 function filter_debug_log($message) { // 过滤掉自动更新相关的日志 if (strpos($message, 'Automatic updates') !== false) { return ''; // 返回空字符串,阻止日志输出 } return $message; } add_filter('wp_debug_log', 'filter_debug_log');
这个过滤器会检查每条要写入 debug.log 的消息,如果消息中包含 "Automatic updates" 字样,就不会将其写入日志文件。其他类型的调试信息仍然会正常记录。